How do I set up a Windows server for use with timeSensor LEGAL Classic?
General
This article describes how a Windows server must be set up to use timeSensor LEGAL. The configuration described in this article is binding in the sense of the General Terms and Conditions of timeSensor LEGAL. These instructions apply to timeSensor LEGAL and to timeSensor LEGAL 365 'on premise' installations.Infrastructure requirements
Windows Server Version
timeSensor LEGAL and the 4D database v18 are certified for Windows Server versions 2016 and 2019.
Hardware
A branded server system intended for use with Microsoft Server is recommended. The required performance depends on the number of users and the mode of operation, the following details provide key data.
RAM
The RAM configuration of a Windows server dedicated exclusively to timeSensor LEGAL is based on the following table. The more RAM is used, the faster the system runs because a larger part of the data can be kept in the cache. More RAM thus reduces the load on the disk system, as less access to the disk is required.
|
Number of Users
|
Minimal RAM
|
|
bis 10
|
16 GB
|
|
bis 20
|
32 GB
|
| bis 100 |
64 GB
|
|
bis 250
|
128 GB
|
Cores
| Anzahl Benutzer | Minimale Anzahl Kerne |
| bis 10 | 2 |
| bis 20 | 4 |
| bis 100 | 8 |
| bis 250 | 16 |
Hard disks/storage system
timeSensor LEGAL is based on a transaction-oriented relational database. The configuration of the hardware or the virtual machine (VM) is therefore based on the best practices for setting up a Microsoft SQL Server. The server's disk system must therefore be optimised for IOPS and designed for the operation of a transaction-oriented RDMS.For physical machines, the use of an SSD is mandatory; for 20 users or more, NVMe (PCI Express) SSD is required. From 50 users, this should be an enterprise SSD (designed for low latency under continuous load).
Benchmarking
Before a new server is installed, timeSensor AG or a service provider commissioned by timeSensor AG will carry out benchmarking to determine the machine's suitability for server operation.
Partitioning
The classic hard disk partitioning looks like this:
| Partition |
Inhalt
|
Laufwerk
|
Geschwindigkeit
|
| C:\ | Windows OS and Programm | Consumer Grade SSD | Medium |
|
D:\
|
Data |
Enterprise Grade SSD
|
High |
|
E:\
|
Backup
|
Hard Disk
|
Low |
In a virtual machine, it is not absolutely necessary to replicate this partitioning scheme with virtual drives. Depending on the underlying physical disk system (e.g. RAID10 SAN), a different partitioning can also be chosen, for example the setup of all data on a single virtual drive C:\. It must simply be ensured that access to the database data is guaranteed with high performance and that fail-safety is guaranteed by other measures.
Configuration of the Windows server for operation with timeSensor LEGAL Classic
Windows Update
First make sure that your Windows Server operating system is up to date. If necessary, install waiting updates from Microsoft. Make sure that the automatic Windows security updates cause as little disruption as possible: active times should be used to the maximum (e.g. from 07.30h to 19:30h).
Create user account
Create a new local user account with the name "timeSensorAdmin" (local user or local admin) for the installation of timeSensor LEGAL. In principle, timeSensor LEGAL does not require admin rights to run. However, we recommend that you set up the account as a local admin, as this simplifies administration and subsequent installations. For security reasons, however, you should not set up the account as a domain admin, but only as a local admin. As soon as the user has been created, log off and log on again with the new user "timeSensorAdmin".
Configure firewall
In order for the database to communicate with the clients, the following incoming ports must be enabled in the Windows firewall:
|
In or outgoing |
Art
|
Ports
|
Name |
|
Ingoing |
TCP
|
19812, 19813, 19814
|
4D Server
|
|
Ingoing |
TCP
|
8080
|
4D API |
|
Ingoing from IP 195.15.219.70
|
TCP
|
9182
|
OS Monitoring |
|
Ingoing from IP 195.15.219.70
|
TCP
|
9185
|
4D Monitoring
|
Virus protection
Anti-virus programs are a rich source of malfunctions of all kinds. For a timeSensor LEGAL server, please only use Windows Defender from Microsoft.

Before you continue with the installation, make sure that the Real-Time Protection of the Microsoft Defender is switched off.
Installation of timeSensor LEGAL
Install database server
On our help centre you will find the installation programme with which you can install the database server. Download the timeSensor Installer for Windows here and run it (as administrator). Install the desired software (i.e. the server installation) for the desired country in the desired language:
The installer will now first create the main directory
C:\ProgramData\timeSensorProgram\
Three further directories are created in this directory:
C:\ProgramData\timeSensorProgram\timeSensor Server
This directory contains all components of the database and the timeSensor LEGAL software.
C:\ProgramData\timeSensorProgram\timeSensor DataFiles
This directory contains all data.
C:\ProgramData\timeSensorProgram\timeSensor Tools
This directory contains the tools (additional services for the full text search and the creation of preview images).
Adapt virus protection
After the paths have been defined, you must exclude the corresponding paths and processes from virus protection in Windows Defender.
The following paths are to be excluded:
- C:\ProgramData\timeSensorProgram
- provided the data has been moved to the D:\ drive: D:\timeSensor DataFiles
The following paths are only available after the client has been installed, so exclude them after the client has been installed:
- %USERPROFILE%\timeSensor
- %USERPROFILE%\AppData\Local\timeSensor
- %USERPROFILE%\AppData\Roaming\timeSensor
The following processes are to be excluded:
- C:\ProgramData\timeSensorProgram\timeSensor Server\timeSensor.exe
Install database client
Now restart the timeSensor installer that you downloaded earlier and install the client application this time.
This leads to the creation of another directory:
C:\ProgramData\timeSensorProgram\timeSensor Client.
The directory "timeSensorProgram" thus looks like this (unless you have moved timeSensorDataFiles to D:\, if you have appropriate partitioning):
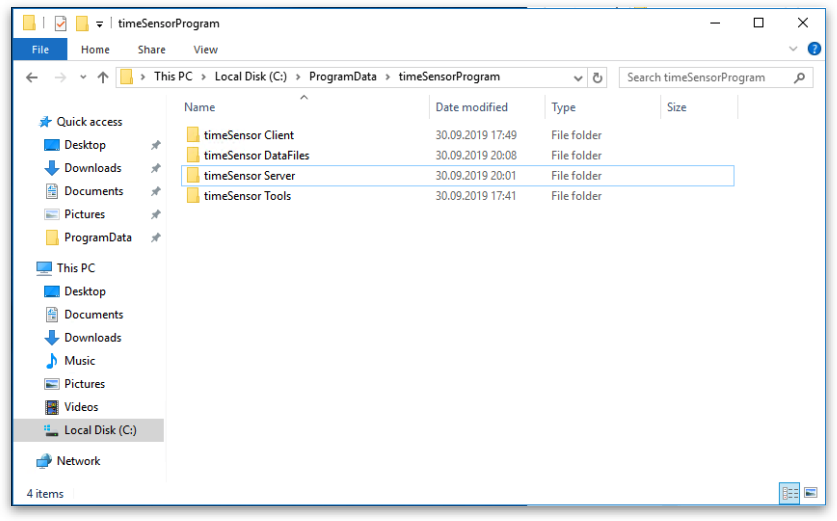
C:\ProgramData\timeSensorProgram\timeSensor Client.
The directory "timeSensorProgram" thus looks like this (unless you have moved timeSensorDataFiles to D:\, if you have appropriate partitioning):
Initial start and setup of the database server as an application
The database server can be started either as a service or as an application. First we start it as an application, as this gives us a graphical user interface for configuration. So start the application C:\ProgramData\timeSensorProgram\timeSensor.exe
The first start of the database server must not take place with administration rights, but with normal user rights.
After starting the database, you will see the administration window of the database:
Adjustment of the database cache
First tell the database how much cache is available given the amount of memory installed on the machine. To do this, select the menu "Database Settings -> User Settings for Data file..." in the "Edit" menu of the server administration window.
|
Arbeitsspeicher (RAM) der Maschine
|
Cache Grösse
|
|
16 GB
|
6000 MB
|
|
32 GB
|
20000 MB
|
|
64 GB
|
42000 MB
|
|
128 GB
|
96000 MB
|
Configure data backup
4D Backup is also configured via the administration window of the 4D server. Click on the "Maintenance" tab and then on "Preferences...".
Configure 4D Backup so that the data backup is carried out daily during the night, e.g. at 02:00h. Then no users are in the system and the system is not slowed down.
Finally, configure the "Backup&Restore" tab as shown below. The number of generations of backup files you want to keep depends, of course, on the available hard disk space.
So far, we have only made a primary backup of the database data. The database server stops at 02:00, integrates the existing cache, creates a backup in the defined path, whereby the current journal file is integrated, creates a new journal file and resumes its work. The result of this backup is a file with the extension .4BK, which contains the database data, but not the associated documents, which are stored externally. These are located in the directory timeSensor Datafiles\STUFF. If you work with classic partitioning and store the data backup on E:\, you must ensure that the STUFF directory is also backed up and stored on E:\.

In addition to the backup files .4BK provided by the database server, the data in the directory timeSensor DataFiles\STUFF must also be backed up. Only by backing up these two elements is the data backup complete.
Summary
- The data file of the database named timesensor.4dd and the directory timeSensor DataFiles\STUFF must be saved. With these two elements, a dataset can be restored.
- Since the timesensor.4dd file is permanently in use, it cannot be backed up directly. Therefore, 4D Backup is set up to create a daily backup file of the data and write it to the destination directory.
- If you are working with traditional partitioning, then put the target path of 4D Backup on the backup drive E:\ and also set up a backup of the directory timeSensor DataFiles\STUFF -> E:\.
- If you have only one virtual disk C:\, then set the target path of 4D Backup to C:\ProgramFiles\timeSensorProgram\timeSensor DataFiles\STUFF\BACKUP and make sure that the directory C:\ProgramFiles\timeSensorProgram\timeSensor DataFiles\STUFF is backed up once a day after 4D Backup is finished. With virtualised systems, a snapshot is of course sufficient for this.
Changing the database server as a service
Since the Windows operating system restarts itself from time to time for the purpose of installing security updates, it is advantageous to set up the database as a Windows service rather than as an application. Proceed as follows:
- Shut down the database server
- Start the Database Server again, this time with administrator rights ("Run as Administrator").
- In the "File" menu, select the command "Register Current Database as Service".
- Stop the database server
- Open the "Services" window and find the service "4D Server: timeSensor".
- Open the settings of the new service and configure the automatic start. Select a delayed start here so that the database only starts up a little while after the operating system has started:
- Click on the "Log On" tab and enter the account data of the user you set up at the beginning. It is important that the database service starts with the permissions of this user.
- Click on the "Recorvery" tab and enter here the behaviour to be applied if the service does not start properly automatically. Here it is recommended to restart the service once and restart the machine on the second attempt:
- If you have set everything up correctly, restart the machine once and make sure that the database service starts correctly.
Activation of the timeSensor LEGAL software
Now that the server is configured and running, it is time to log in with the timeSensor client application for the first time. So start the app under:
C:\ProgramData\timeSensorProgram\timeSensor Client\timeSensor Client.exe.
The client usually finds the server automatically because it is in the same network. First, some resources are copied once from the server (which may take a moment) and then the dialogue for activating the software appears:
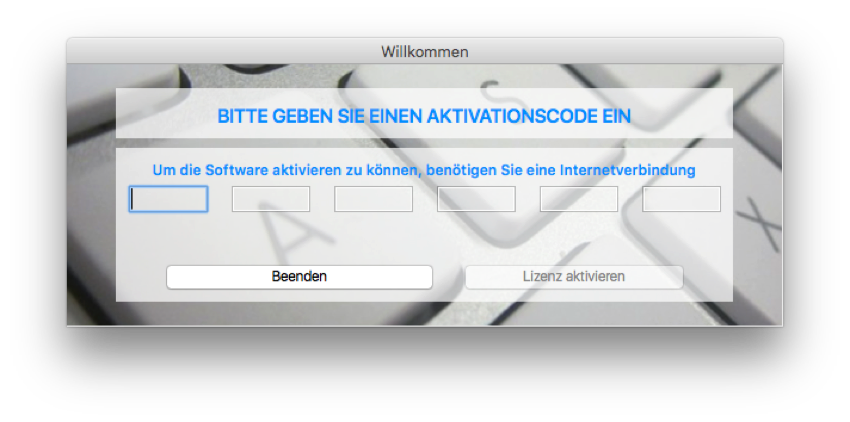
To activate the software, you need a functioning internet connection. For this purpose, the database server communicates with the licence server via port 8080, which must therefore not be blocked.
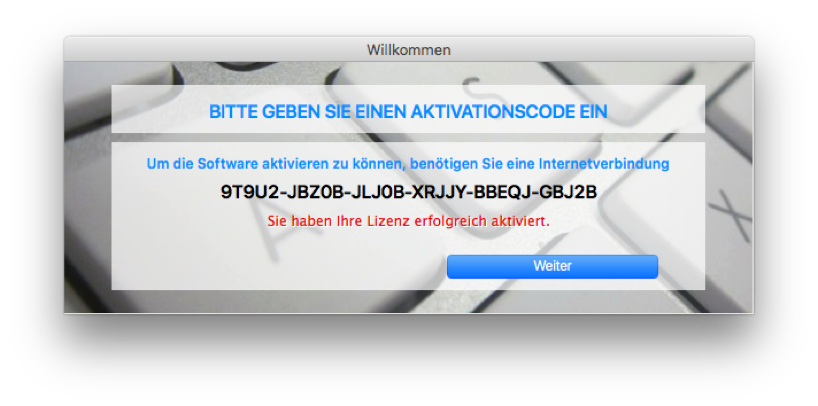
Enter the first activation code according to the delivery note and click on "Activate licence". The software is now licensed with one workstation.
Acknowledge the general terms and conditions.
If the PDF printer driver "PDF-XChange" is not yet installed on the system, you will be prompted to install it now:
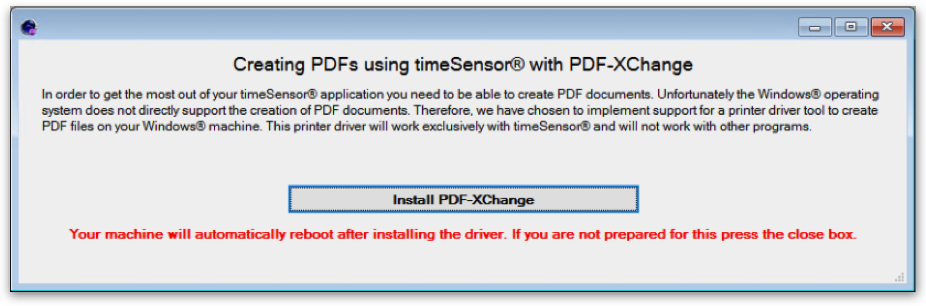
If the Acrobat Reader is not yet installed on your system, you will be informed (tSL requires the Acrobat Reader to display PDF documents).
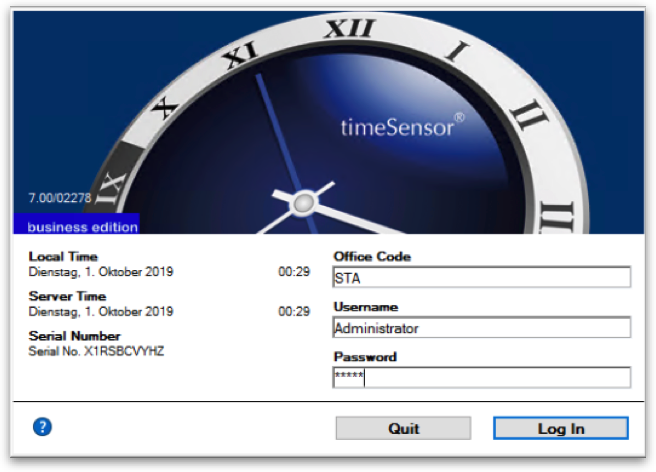
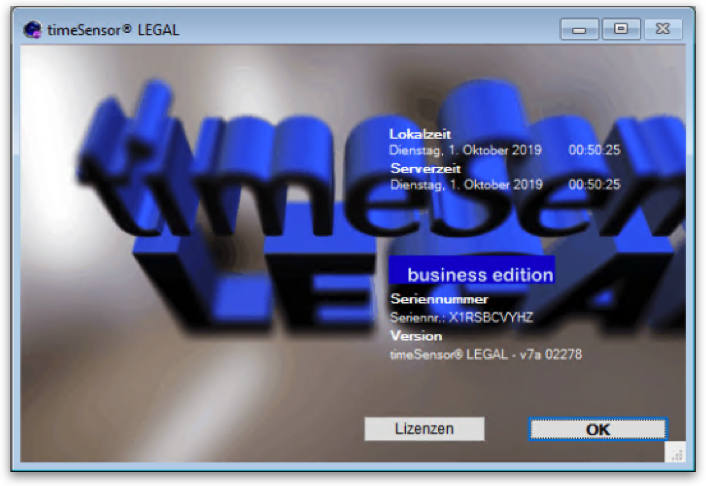
After installing the printer driver and Acrobat Reader, log in again with the timeSensor client application. If the setup wizard opens after logging in, close it again. Instead, select the command "About timeSensor LEGAL" in the "Help" menu and click on the "Licences" button in the dialogue.
C:\ProgramData\timeSensorProgram\timeSensor Client\timeSensor Client.exe.
The client usually finds the server automatically because it is in the same network. First, some resources are copied once from the server (which may take a moment) and then the dialogue for activating the software appears:
Enter the first activation code according to the delivery note and click on "Activate licence". The software is now licensed with one workstation.
Now log on to the software as "administrator". Depending on the system, you may not need a password at all, or you may need the initial password "admin".
If the PDF printer driver "PDF-XChange" is not yet installed on the system, you will be prompted to install it now:
After installing the printer driver and Acrobat Reader, log in again with the timeSensor client application. If the setup wizard opens after logging in, close it again. Instead, select the command "About timeSensor LEGAL" in the "Help" menu and click on the "Licences" button in the dialogue.
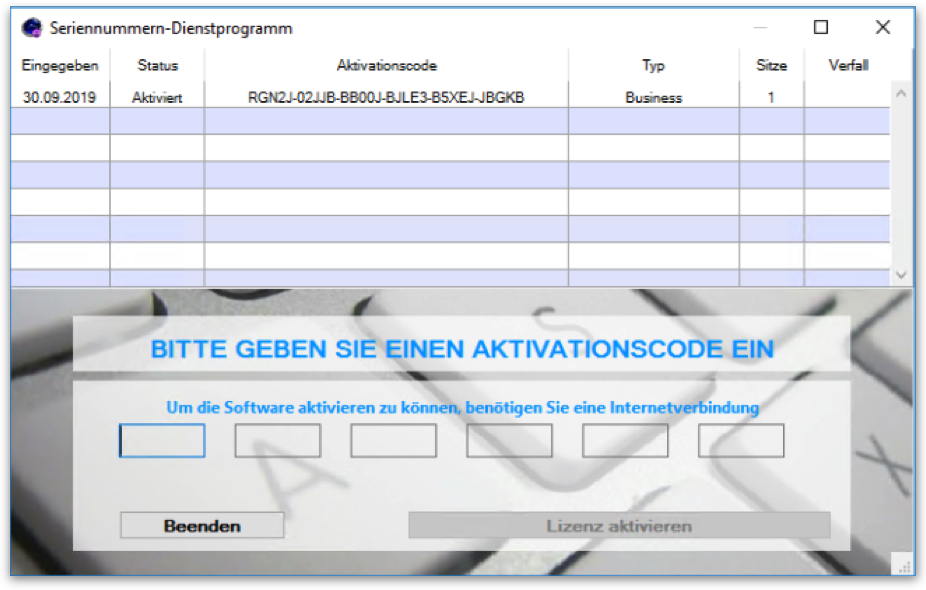
Now the licence dialogue opens: enter the remaining activation codes here to activate all workstations:
What next?
The database server is now completely set up. Next, the client applications can be installed on the users' workstations.
Related Articles
How do I set up timeSensor LEGAL for use with QR invoices?
General information The QR invoice is the new standard for written invoicing in Switzerland and Liechtenstein and replaces the previous deposit slip with reference number (ESR), which will be supported until September 2022. The QR invoice contains ...What are the system requirements for timeSensor LEGAL Classic?
Our license agreement stipulates that timeSensor LEGAL must only be used in a suitable and compatible environment. This includes both computer hardware, operating systems, and necessary additional programs such as anti-virus software. The following ...How Do I Set Up a Multi-User Edition of timeSensor®?
A timeSensor® LEGAL multi-user system consists of a macOS or Windows based server, with 4D database and installed timeSensor software, as well as a number of workstations that access the database server using a generic timeSensor client ("Rich ...Read/write permissions for timeSensor LEGAL under Windows
This article has been machine translated. If you find any errors, we would be grateful if you could report them to translation@timesensor.com. General Many errors around the automatic update of the server or the client are related to insufficient ...How can I use the 'Cloud Drive' feature in timeSensor LEGAL?
This article has been machine translated. If you find any errors, we would be grateful if you could report them to translation@timesensor.com. General Normally, your documents are in the document archive of timeSensor LEGAL and are only accessible ...